How to publish an ASP.NET Core web app to Azure
At some point in your ASP.NET Core software development lifecycle you’ll need to publish it to make it available for others to use. One of the easiest solutions is to use Microsoft Azure, especially since you can publish to it directly from within Visual Studio. Azure offers an efficient and scalable hosting solution for .NET applications. If you’ve been developing your application with ASP.NET Core and are now ready to share it with the world, you’re in the right place.
This post will guide you through the process of publishing your ASP.NET Core web application to Azure. We’ll cover the prerequisites, explain how to create an Azure App Service, and walk you through deployment step by step. Let’s dive in!
Create a Visual Studio project
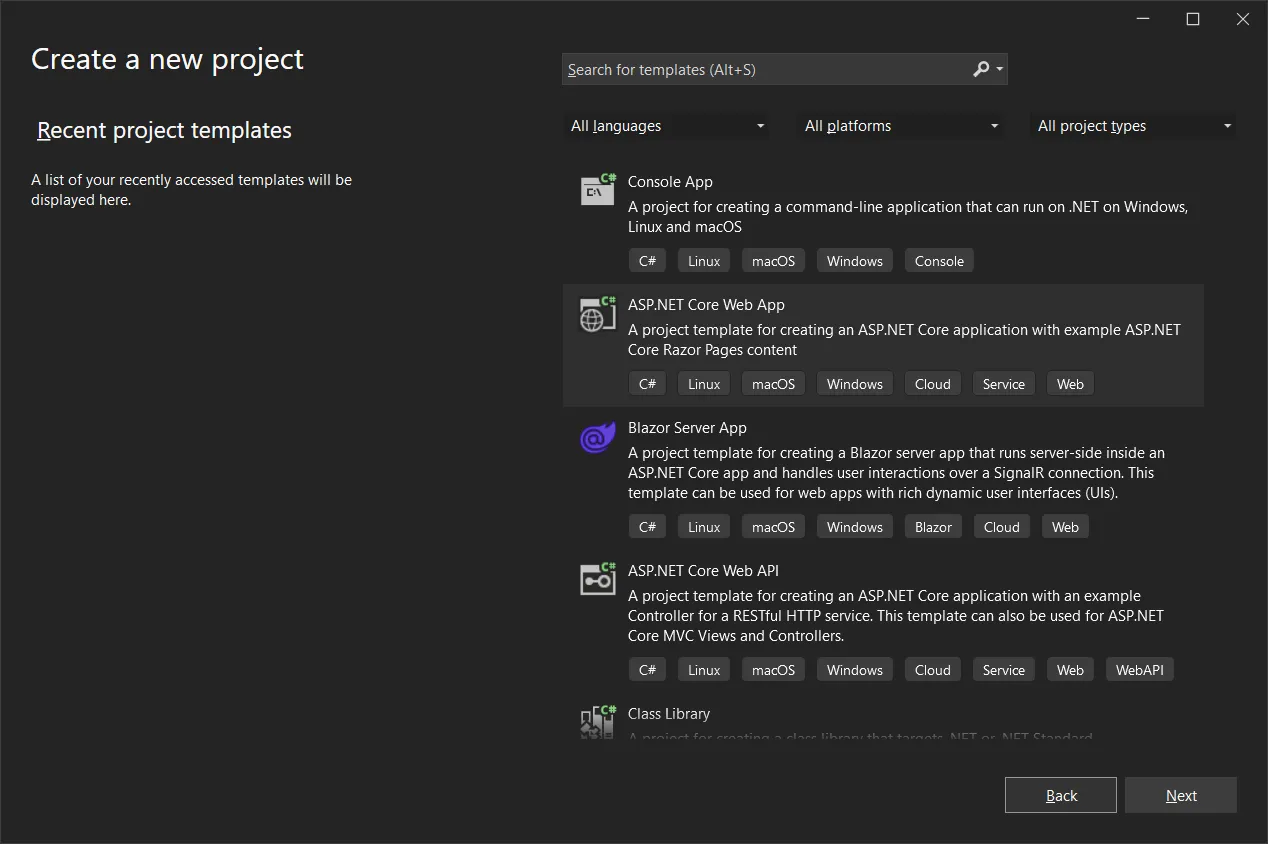
In Visual Studio, open your existing ASP.NET Core Web App if you have one, or create a new one.
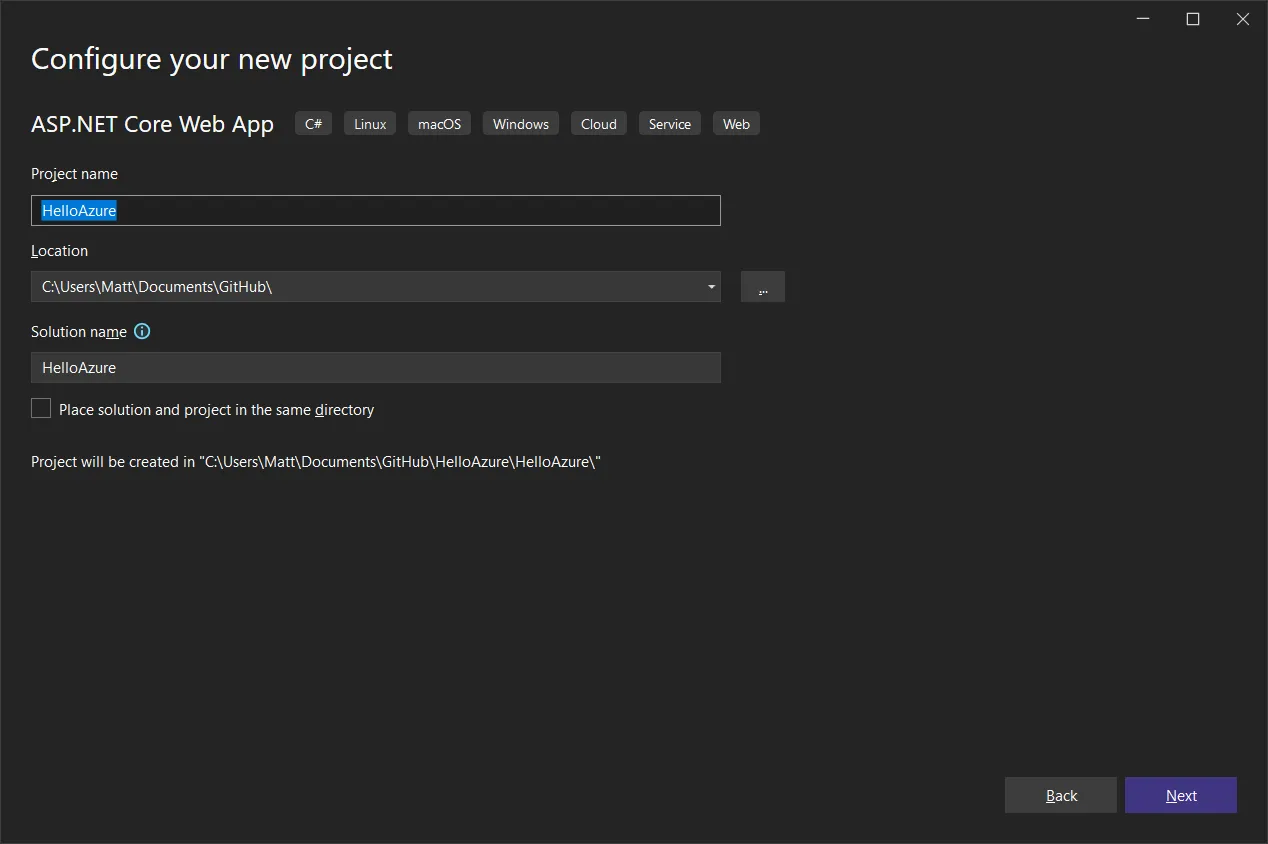
In this example, I’ll name our project HelloAzure.
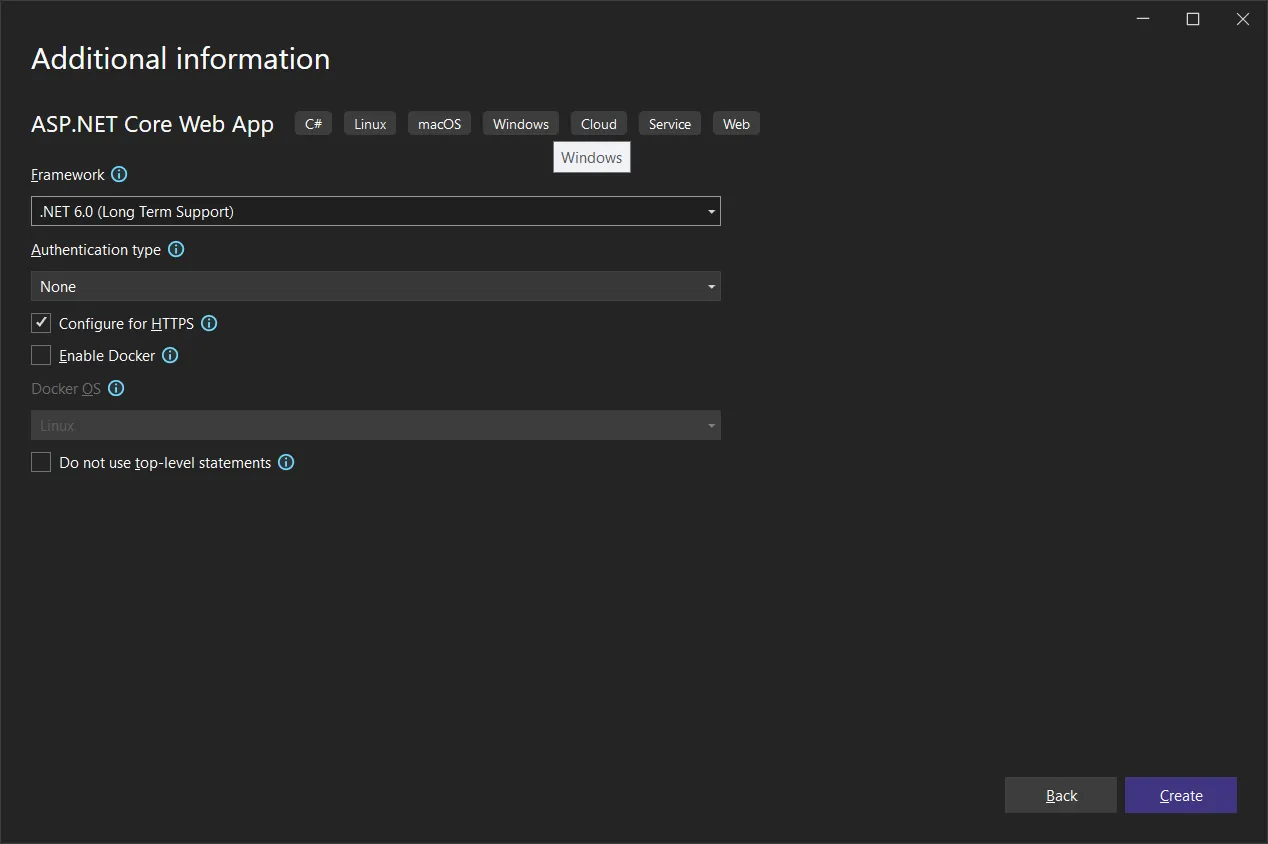
This example uses .NET 6.0 LTS, but you can modify this to .NET 7.0 if you’d like. For the sake of a simple tutorial, we’ll leave authentication disabled since we’re only going to publish a simple example.
After making sure the project builds and runs successfully, we can continue to Azure deployment.
Deploy to Azure
The Azure product we’ll be using to host our application is Azure App Service. The compute resources for this product can be scaled from a low-availability free tier up to high-availability & high performance tiers.
If you intend to publish a real-world app, you’ll want to be sure to use an appropriate resource tier. The Standard tier should be sufficient for most basic use cases. For our simple example, we will be using the Free tier.
Open the Azure portal
Browse to https://portal.azure.com
If you haven’t used the Azure portal before, you’ll need to complete the onboarding process and set up either a paid subscription or trial before you can proceed. If you don’t have that completed, return here after that’s done.
Create a resource group
For this tutorial, we’ll be creating Azure resources using the Azure CLI. Alternatively if you prefer not to use the CLI, you can click through the portal for more of a guided approach to creating the resources (Resource Groups -> Create).
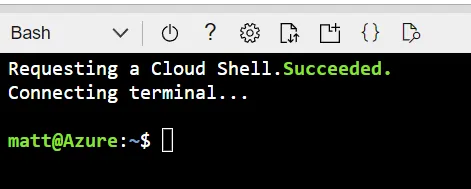
In the Azure portal, open the CLI and set the environment to Bash if it isn’t already set to Bash.
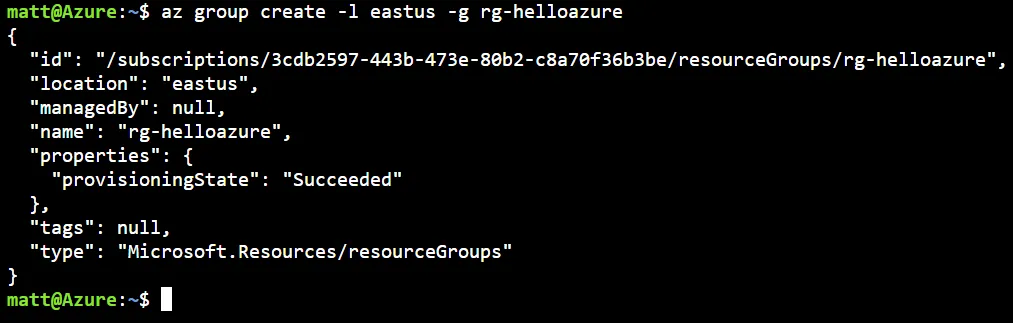
Run this command:
az group create -l eastus -g rg-helloazure- az: Azure CLI
- group: Resource group
- create: Create action
- -l: Region (in this example, “eastus”)
- -g: Resource group name (in this example, “rg-helloazure”)
Publish from Visual Studio
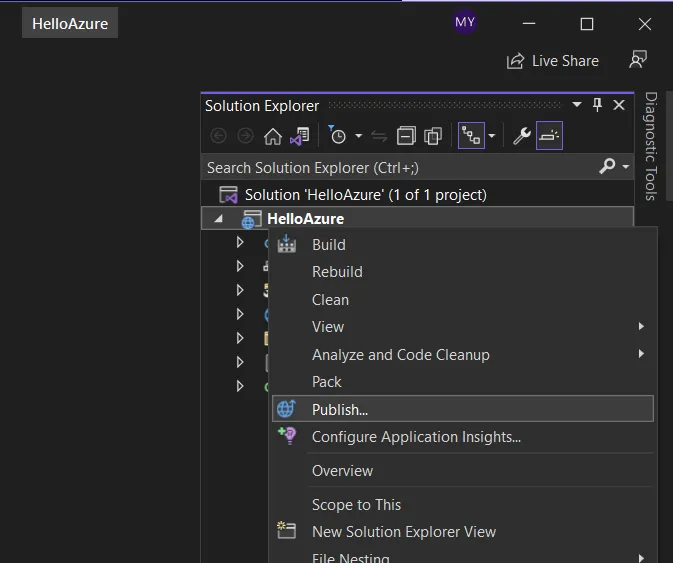
Back in Visual Studio -> Solution Explorer, right-click your project -> Publish.
The default option Azure should already be selected. Click Next.

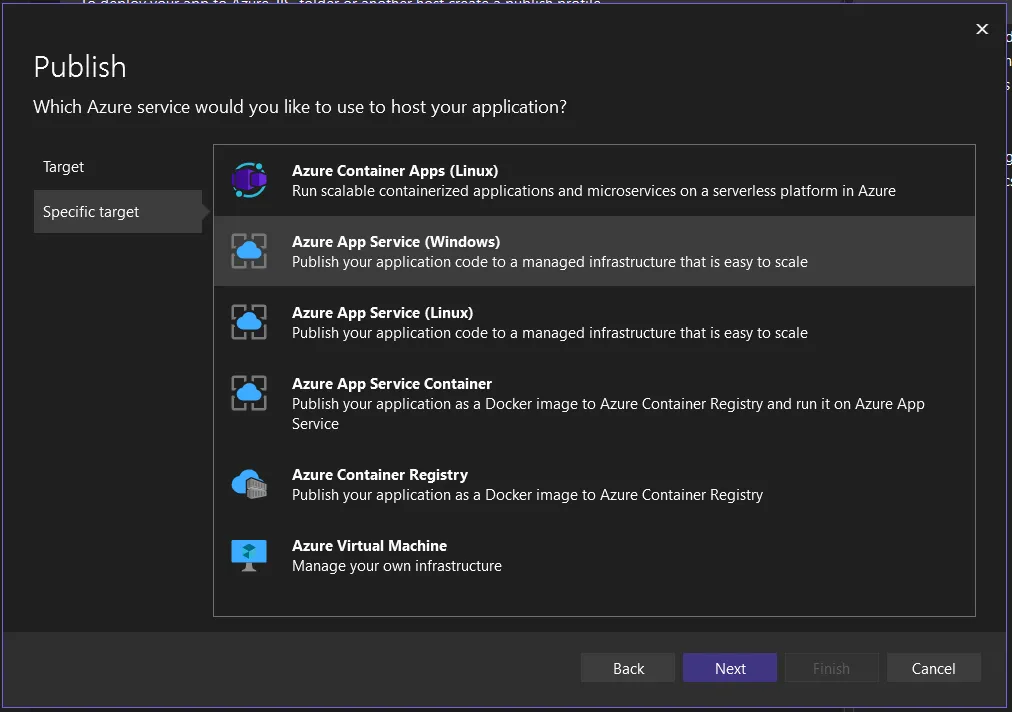
Select target Azure App Service (Windows). Click Next.
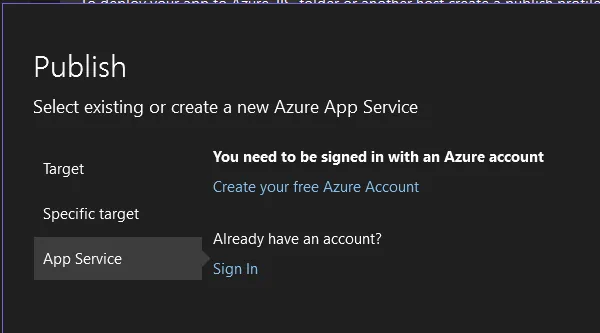
If you are already signed in to an Azure account within Visual Studio, this screen will display any existing instances in your account. If not, it will ask you to create an account or sign in. Complete this step by either creating an account if you don’t have one, or signing in.
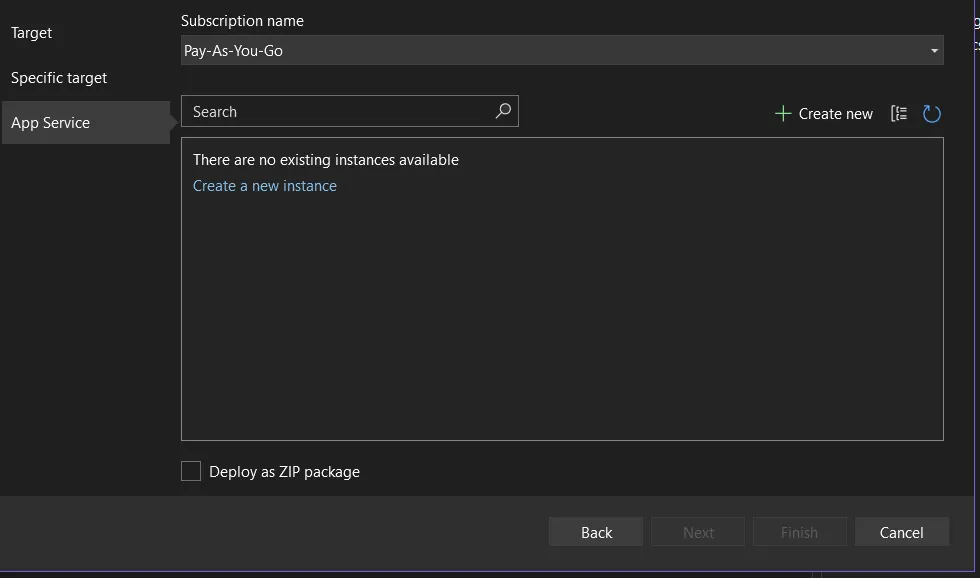
Once signed in, existing instances are displayed if applicable. In this case, there are no existing instances. Click Create new to add a new instance.
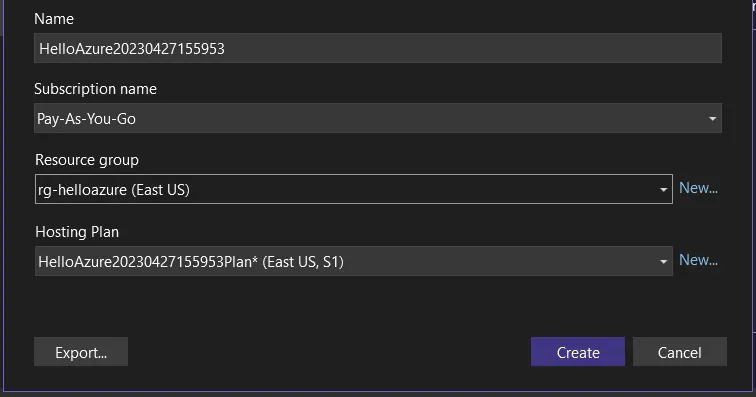
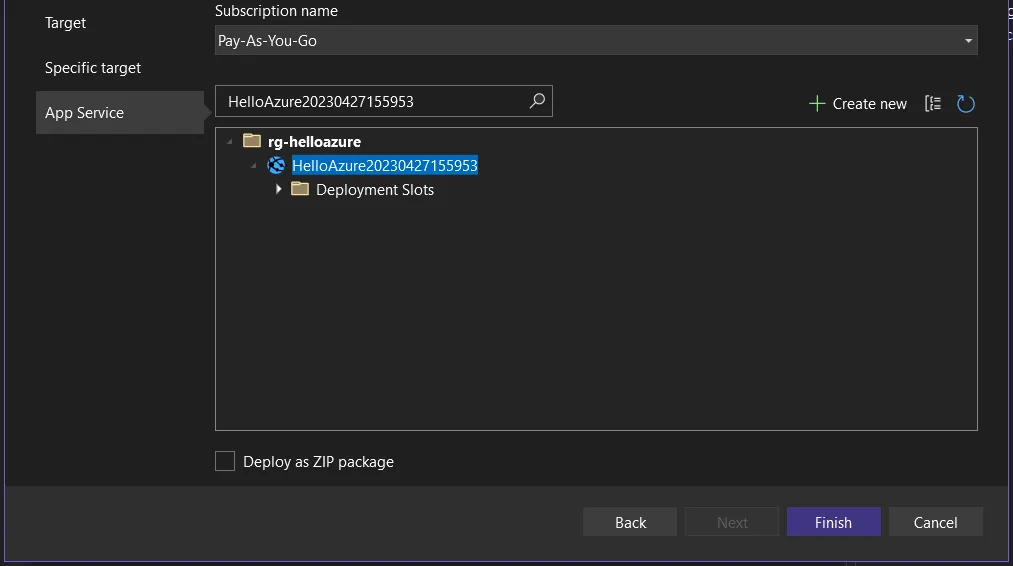
Name and Subscription name can remain default values. Resource group should already be set to the resource group you created via the Azure CLI. If you had other existing resource groups, you’ll need to select the group you created. Beside the Hosting Plan dropdown, click New.
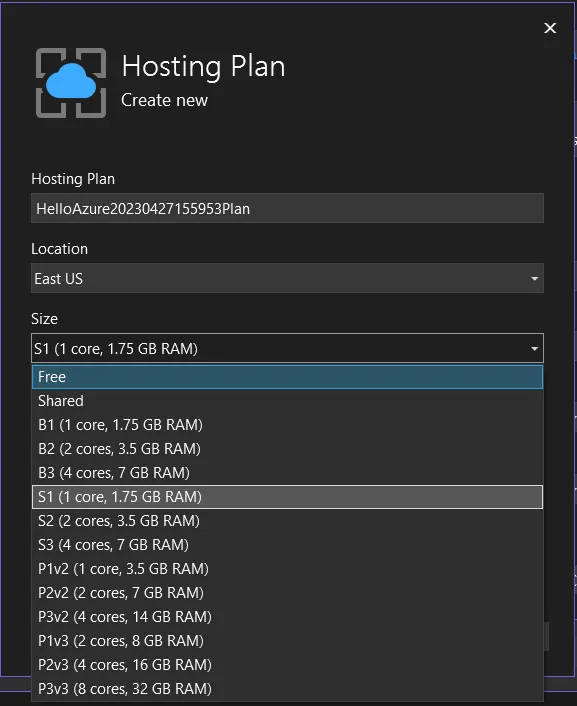
Optionally change Location to your preferred location, and more importantly, change Size to your preferred size. We’re going to use the Free size for this example.
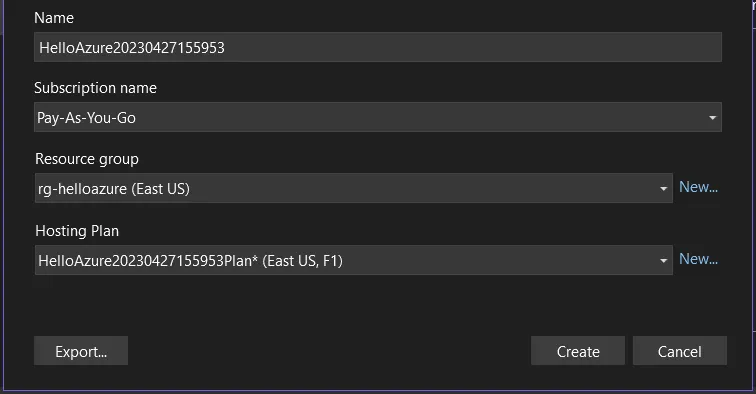
Click Create, then click Finish.
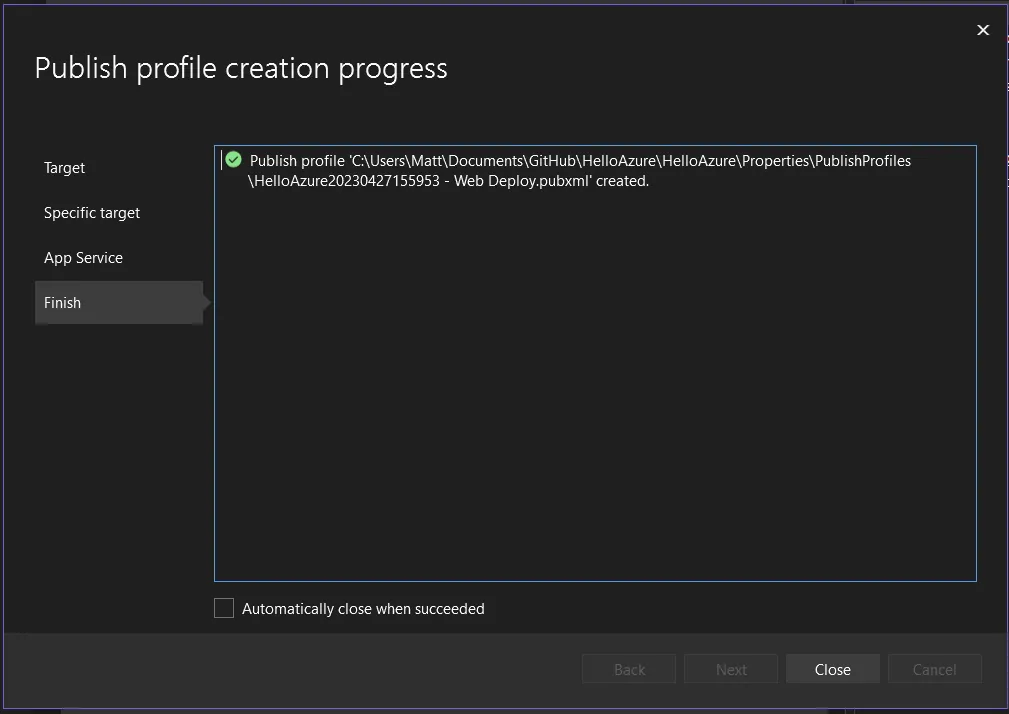
At this stage, a new Visual Studio publish profile has been created. It’s important to note that the application has not yet been published to Azure. The steps so far have simply created a reusable definition of the publishing workflow that will make subsequent redeployments as simple as a few mouse clicks. Close the dialog when it succeeds.
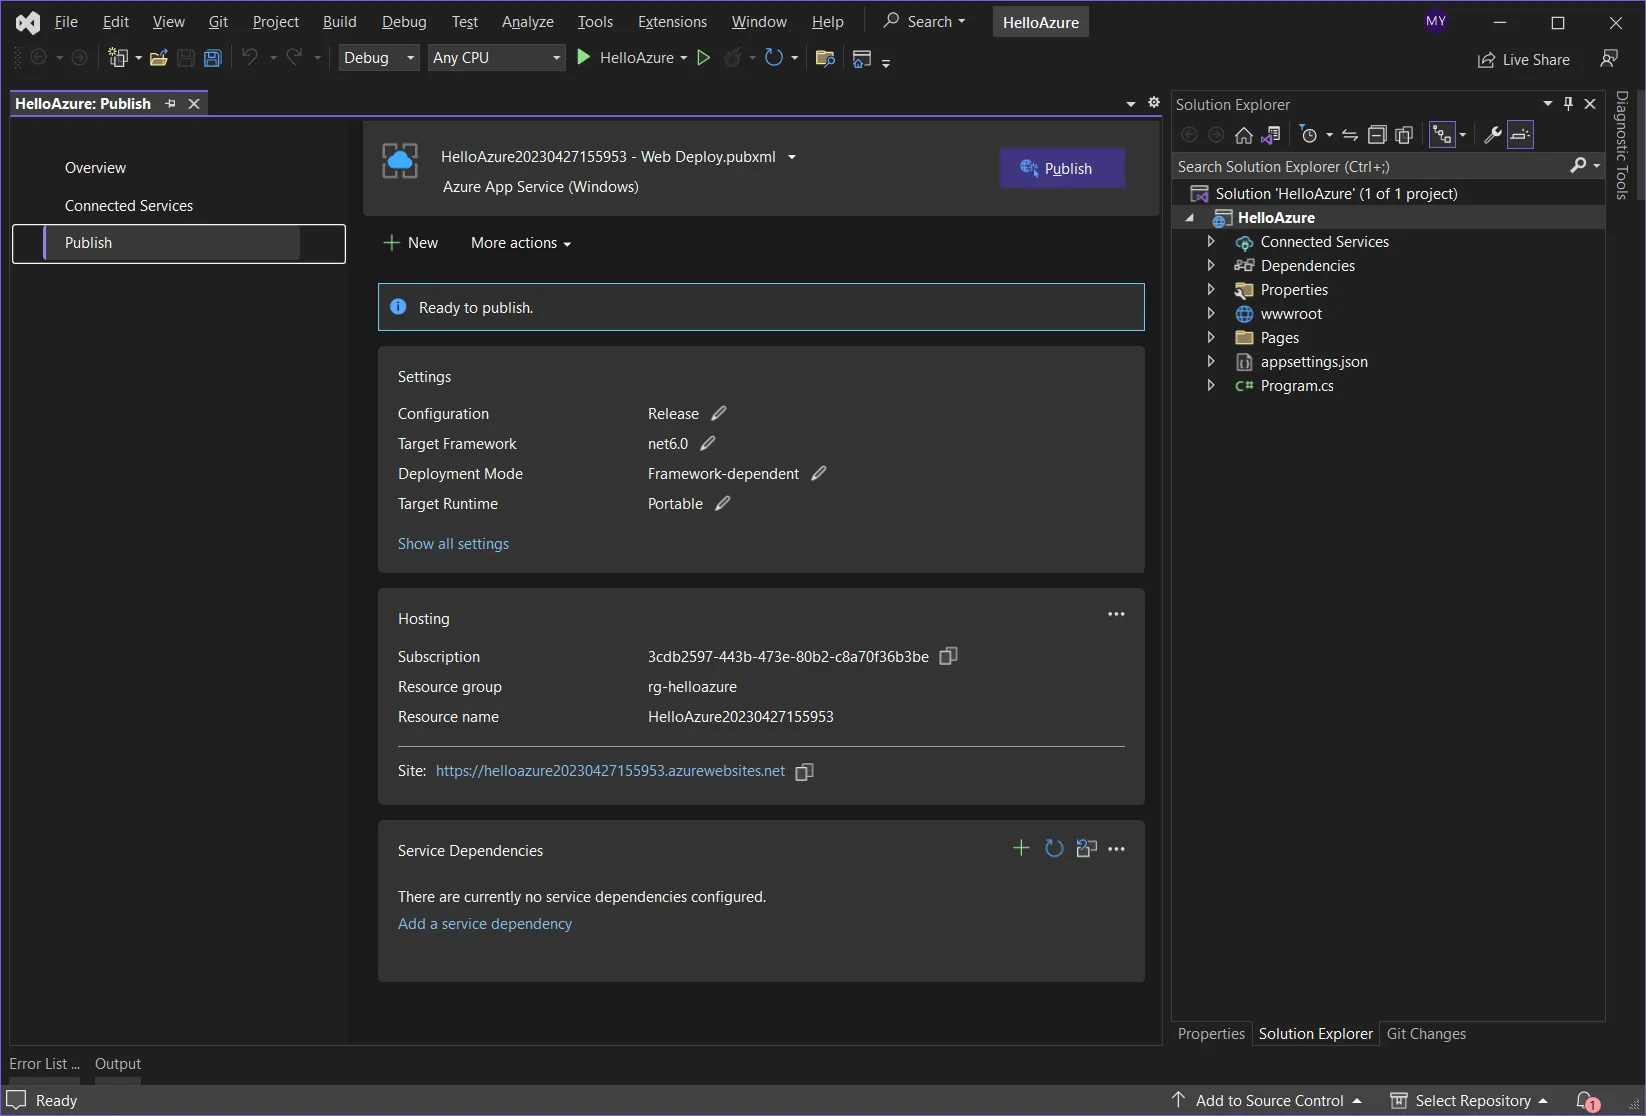
Click Publish.
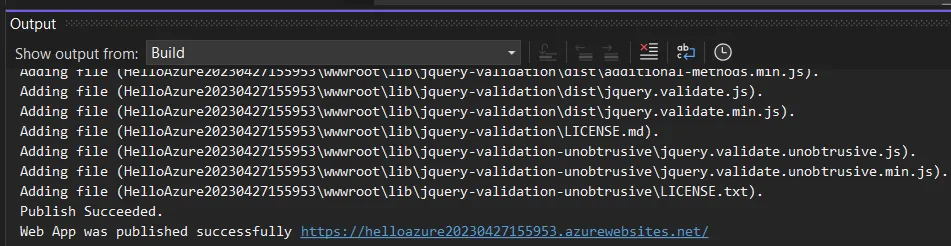
Observe the Output window to monitor publish results. If everything worked as expected, a URL should be included in the response and a web browser should automatically open with your published application. Congratulations! Your ASP.NET Core web app is now running in Azure!
I hope this guide has helped you navigate deploying ASP.NET apps to Azure. I encourage you to explore other services in Azure such as Azure SQL Database, Azure Functions and Azure DevOps, all of which can help further enhance your application’s functionality and deployment process.